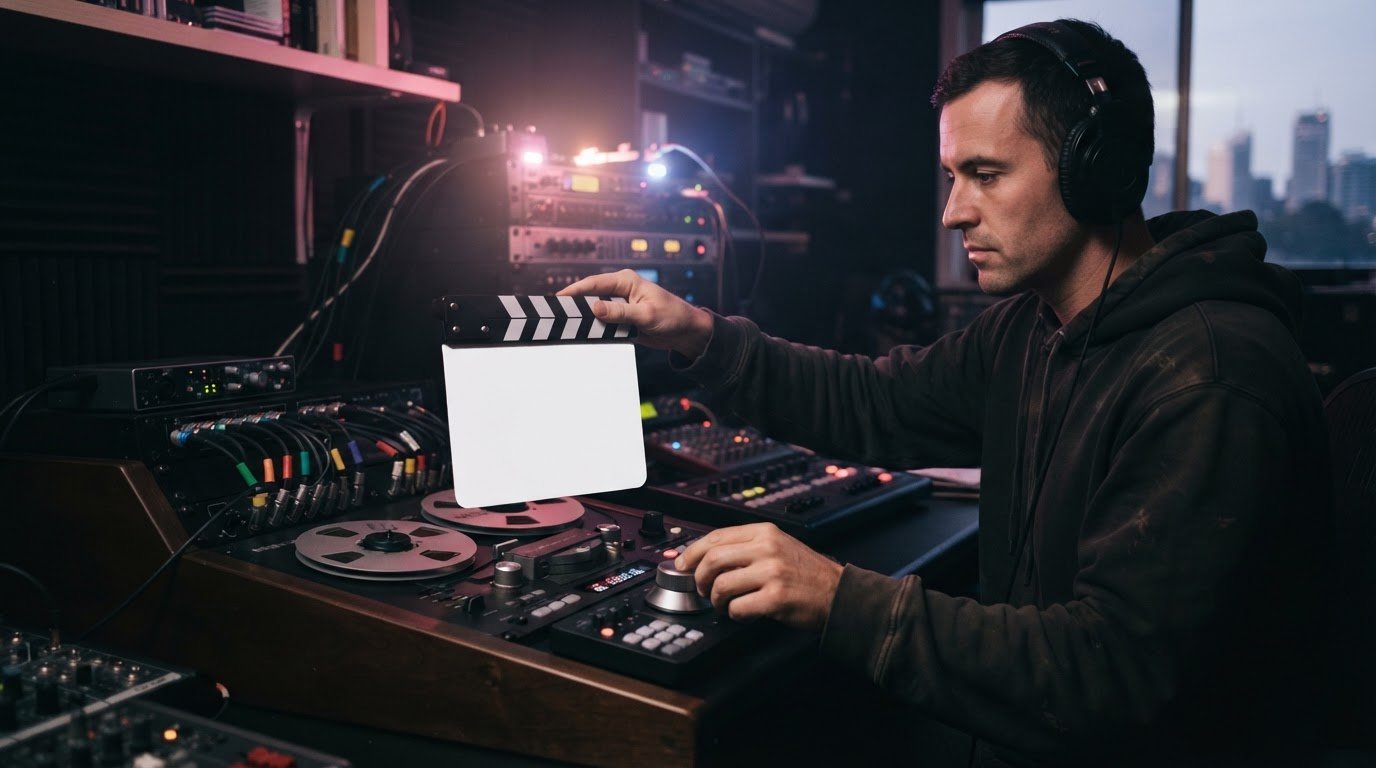
A constant audio delay can point to an export configuration mismatch, so shifting the track straight away may only hide the cause. Fixing audio sync issues in post starts with finding whether the problem lies in the source file, the edit or the export. The right fix depends on where the timing breaks down.
When dialogue and picture drift apart, it’s tempting to nudge the audio until they line up. That can work for a simple, consistent offset, but it won’t fix damaged media, variable frame rate footage or timing problems introduced during rendering.
This guide explains how to test source files in different media players, identify signs of corruption or format-related issues, and shift audio precisely in your editing software. You’ll also learn to distinguish a constant delay from progressive drift, then check frame-rate and export settings so the correction holds in the rendered file.
Key Takeaways
- Test the source in different media players to help separate a file problem from a playback issue.
- Look for signs of damaged media or timing metadata problems before making edits to the audio track.
- Use a clear sync point to decide whether a track needs shifting, then review the result across the edit.
- For a consistent delay, inspect frame-rate and export settings as well as the timeline alignment.
Checking whether sync problems originate in the source file
Before changing track positions, determine whether the fault is in the source file, playback or timeline. Test the same clip in different players, then compare its timing in the edit.
Identify audio-video sync symptoms
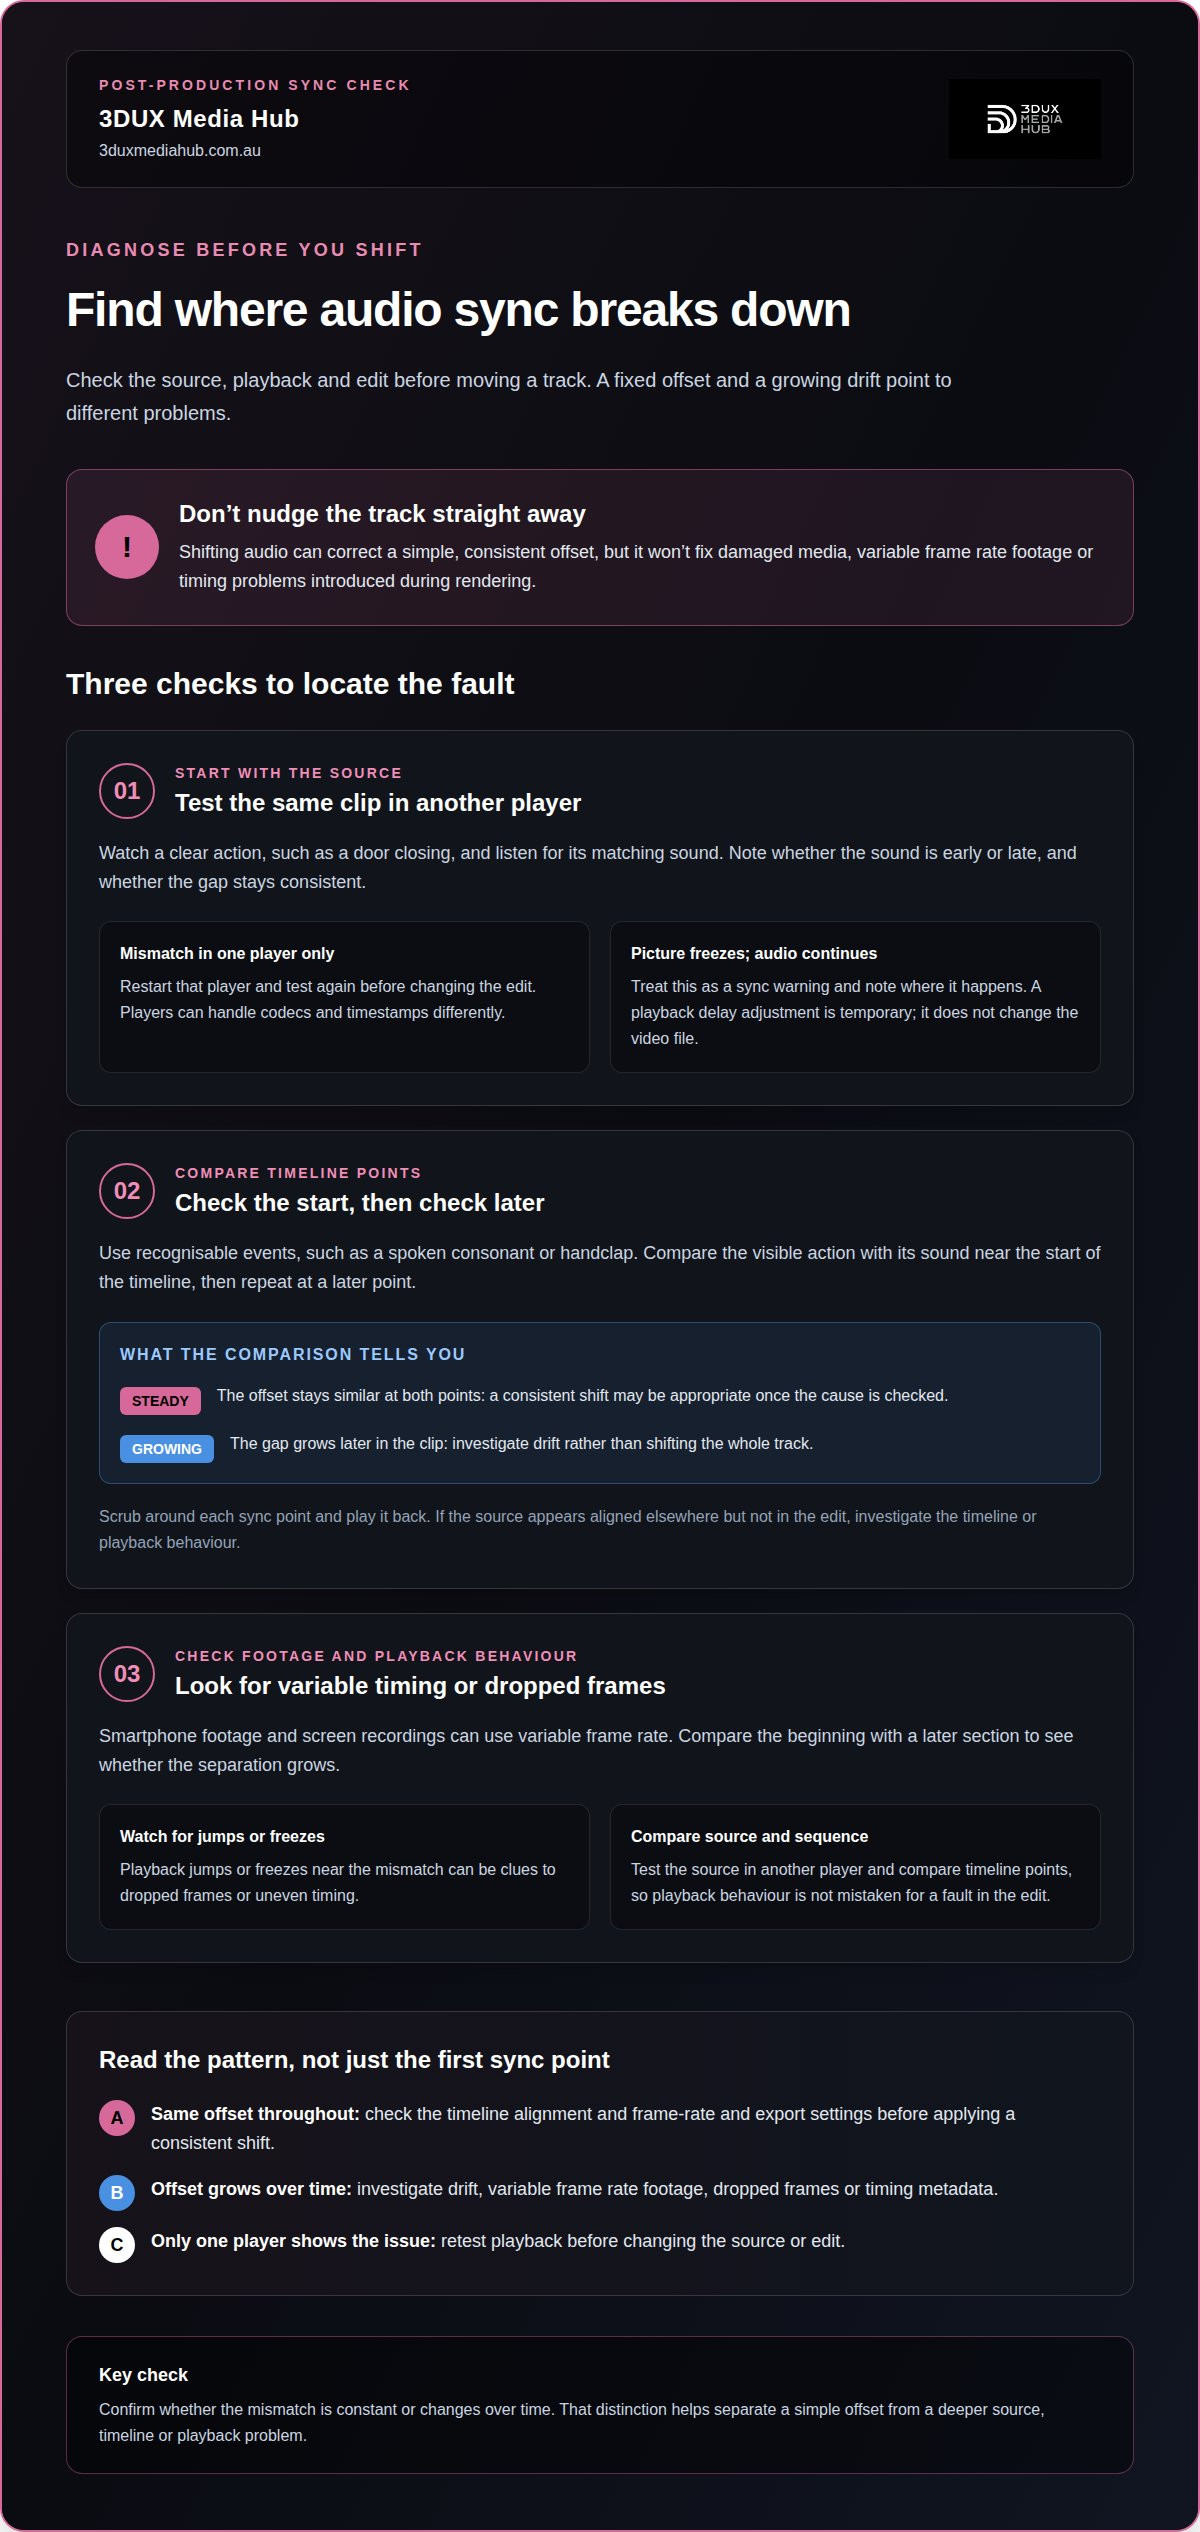
Watch a clear action, such as a door closing, while listening for its sound. Note whether the sound comes early or late, and whether the gap stays consistent. A picture freeze while audio continues is another sign of a sync problem. Record where each issue appears: a mismatch that starts later may indicate drift rather than a fixed offset.
Play the source in another media player. Sync can vary between players because they handle codecs and timestamps differently. If the mismatch appears in only one player, restart it and test again before changing the edit. A playback delay adjustment is temporary and does not change the underlying video file.
Diagnose sync in the editing timeline
Compare a visible action with its corresponding sound at the start of the timeline, then check another point later. To diagnose sync in an editing timeline, use recognisable events as sync points and note whether the offset stays stable. If the gap grows, investigate drift rather than shifting the whole track.
Check both the source clip and the sequence to see whether the timeline introduced the mismatch. Scrub around each sync point, then play it back. If the source appears aligned elsewhere but not in the edit, investigate the timeline or playback behaviour before blaming the original recording.
Account for variable frame rates and dropped frames
Check whether the clip came from a smartphone or screen-recording app. These sources can use variable frame rate, and smartphone footage may drift out of sync during editing. Compare the beginning with a later section: growing separation suggests timing changes across the clip.
When checking variable frame rate footage or dropped frames, look for playback jumps or freezes near the mismatch. Don’t treat a growing offset as a simple constant delay. Test the source in another player and compare timeline points, so playback behaviour isn’t mistaken for missing or uneven frames in the edit.
Fixing sync problems caused by corruption or format issues
Use the source file and export settings to distinguish corruption from a format mismatch. To prevent sync errors, match the sequence frame rate to the footage and keep the audio sample rate consistent through editing and export. The right settings depend on the source and delivery requirements, not on one universal rate.
- Inspect the section where sync fails. Look for playback freezes, missing audio, abrupt jumps or drift that starts at a specific point. These may indicate damaged media or timing metadata. Test a fresh copy of the source before changing the edit. If the fault follows the file across players, use an undamaged recording or download another copy where possible.
Keep the original untouched. A repair attempt can make recovery harder if it overwrites usable data. Compare the repaired version with the source around the fault, then check that picture and sound remain aligned beyond that point.
- Check how the media was assembled. Sequential MTS clips, for example, may behave differently when joined than when handled as separate files. One reported workflow restored sync by concatenating sequential MTS clips into one file. Treat this as a diagnostic option, not a universal fix: preserve the original clips and compare the joined file before replacing anything.
If a file drifts progressively, inspect frame-rate consistency and timing metadata. A frame-rate mismatch or corrupted timestamps can make audio and picture separate increasingly as playback continues. Rewrapping or transcoding may help with a format-handling issue, but won’t restore missing or damaged media.
- Render a short test after correcting the source or format. Compare a clear sound cue with its matching on-screen action near the beginning and end. If sync holds in the test, review the complete export before delivery. If it still slips, revisit the source, sequence frame rate and export configuration rather than adding another offset.
For persistent format-related problems, professional video and audio encoding can prepare media for consistent playback and delivery. This is a useful next step when a corrected source still behaves differently after export.
Set the sequence to the footage’s frame rate, and keep the audio sample rate consistent throughout editing and export.
Shifting audio tracks in editing software
Shift audio only after identifying the cause and direction of the offset. A reliable approach to fixing audio sync issues in post starts by confirming whether the mismatch is constant or changes over time.
Identify post-editing sync errors
Check a clear sync point, such as a spoken consonant or handclap, near the start and later in the sequence. If both points show a similar offset, the track may need a consistent shift. If the gap grows, don’t drag the whole track to compensate.
Post-editing sync errors can result from frame-rate mismatches or incorrect export settings. Compare the source, timeline and rendered file to locate where timing changes. Also check for an accidental trim, slip or moved audio clip affecting only part of the edit.
Sync external audio with waveforms or timecode
Align external audio by finding the same event in both recordings. With waveforms, locate a sharp transient, such as a clap, then align its peaks in the camera and audio tracks. Play the moment back to confirm the sound matches the visible action.
If the recordings share timecode, align their start positions using that reference, then verify another sync point later. When fixing audio sync issues in post, waveforms or timecode provide a clear starting reference, but playback checks confirm the result. Don’t assume that alignment at the opening proves the entire clip stays in sync.
Consider the risks of changing audio speed
For a constant offset, shift the track and preserve the original audio. Moving a linked clip can separate sound from picture or create a gap at an edit. Check dialogue, effects and music after each adjustment, especially around cuts.
Changing playback speed can alter pitch, dialogue cadence and sound quality. Avoid time-stretching to correct a fixed delay: it changes duration when only position needs correction. If timing drifts, find the cause before changing speed. This keeps fixing audio sync issues in post focused on the actual timing fault.
- Render a short test after adjusting the track. Check sync at the opening, a later scene and a cut, then compare the export with the timeline. If the rendered version shifts again, revisit frame-rate and export settings rather than stacking further offsets.
Constant audio delay
- Compare a clear sound cue with its matching on-screen action near the beginning, middle and end. A constant delay stays roughly the same at each point; progressive drift grows during playback. This distinction guides fixing audio sync issues in post: shift a stable offset, but investigate changing timing instead of moving the whole track.
Repeat the comparison in the timeline and rendered file. If the timeline is aligned but the export is delayed, investigate the render configuration. If both show the same offset, check the edit and source alignment before changing export settings.
- Compare the sequence and export frame rates with the source footage and intended delivery. Frame-rate mismatches during rendering can introduce audio-video sync errors. Check for export settings that differ from the timeline, then make a short test render before processing the full programme.
A constant delay can also be linked to an incorrect sync setup or export configuration mismatch. Don’t assume the audio track itself is at fault. Confirm where the offset first appears, then correct that stage rather than making unrelated changes elsewhere.
- If the offset remains consistent, move the audio track by the measured amount in the editing timeline. Preserve the original track, then check sync at several clear events. Dialogue, impacts and other sharp cues provide useful comparison points. This is a targeted correction, not a substitute for diagnosing drift.
Listen through edits as well as continuous scenes. A shift may align one cue but expose a gap or overlap at a cut. If the offset varies between scenes, avoid applying one global adjustment. Isolate the affected section and identify its timing cause first.
- Render a short test using the revised settings, then compare its opening and later sync points with the timeline. If the delay returns only in the export, revise the rendering configuration and test again. For support with persistent export mismatches, get help with audio and video encoding. Careful testing keeps fixing audio sync issues in post focused on a verified cause.
3DUX Media Hub: Video and Audio Encoding
3DUX Media Hub provides Video and Audio Encoding for projects moving from an edited timeline to a delivery file. If sync is correct in the edit but changes after export, encoding is a relevant next step for preparing the audio and picture in the required output format.
For a finished programme, 3DUX Media Hub also offers 4K UHD Authoring and Blu-ray and DVD Authoring. These services support projects being prepared for those formats, while Content Localisation can adapt content for different audiences. Choose the service that matches the stage and intended delivery of your project.
Contact 3DUX Media Hub to discuss your video and audio encoding requirements.
Move your project towards delivery
Before approving a master, treat audio sync as part of the final delivery decision, not just a timeline detail. A clean edit can still behave differently after rendering, so review the actual output on the intended playback setup. Keep the approved source, timeline and final export clearly identified. This gives your team a reliable reference if another version is needed.
A consistent workflow also makes later changes easier to manage. Record the export settings that produced the approved result, and note any timing adjustments. This creates a practical handover for future revisions, localisation or format changes without relying on memory.
For projects requiring professional preparation for delivery, 3DUX Media Hub offers Video and Audio Encoding, 4K UHD Authoring, and Blu-ray and DVD Authoring. If you need help with the next stage, contact 3DUX Media Hub to discuss your project. With the sync decision settled, you can move forward with confidence.
Frequently Asked Questions
How do you fix audio that is consistently out of sync?
Move the audio track earlier or later by the same amount across the affected clip. For example, align a spoken word with the speaker’s mouth movement, then check another line before applying the change throughout. If the offset differs between clips, adjust them separately rather than shifting the entire sequence. Keep an unchanged copy to compare with the correction.
How do you correct audio sync that drifts over time?
Compare a sync point near the start with one near the end, then locate where the separation begins. If drift builds through one continuous take, review its frame-rate behaviour and sequence settings. If sync changes suddenly at a cut, inspect that edit and the adjoining clips. Correct the affected section, then listen through transitions to catch any newly exposed gaps or overlaps.
How can you verify lip sync and audio sync before exporting?
Loop a short section with clear speech and watch the speaker’s mouth closely. Check that mouth closures coincide with spoken sounds, then test a separate line after an edit. Also compare associated sounds, such as a door shutting, with the visible action. Review the same moments at normal playback speed, since scrubbing alone can make timing harder to judge.